
SCIM User Provisioning
Learn how to leverage the Starmind Entra Gallery app to setup Starmind automatic user provisioning in minutes
Starmind supports SCIM provisioning with Azure Entra ID (former Azure Active Directory). The SCIM protocol simplifies the process of creating and managing user accounts in Starmind. When you add, update, or remove users in Entra ID, SCIM automatically propagates these changes to the configured Starmind network.
Requirements
- Your Identity Provider is Azure Active Directory.
- Users in your Active Directory have the following properties:
- Email (the matching attribute)
- First Name
- Last Name
Configuration
Here is Microsoft tutorial: Configure Starmind for automatic user provisioning
To configure SCIM provisioning, you will need an API key, which you can receive from your Solution Architect.
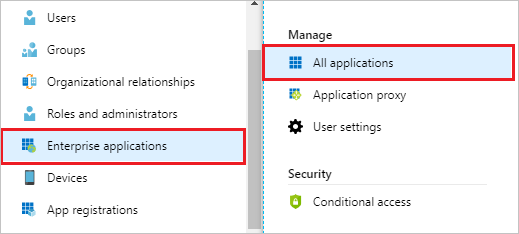
- Sign in to the Azure Portal. In Entra ID, select Enterprise Application, then select All applications.
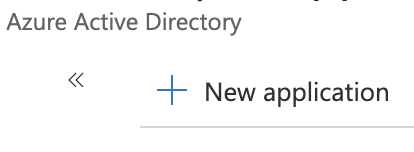
- Select New application.
- Search for Starmind
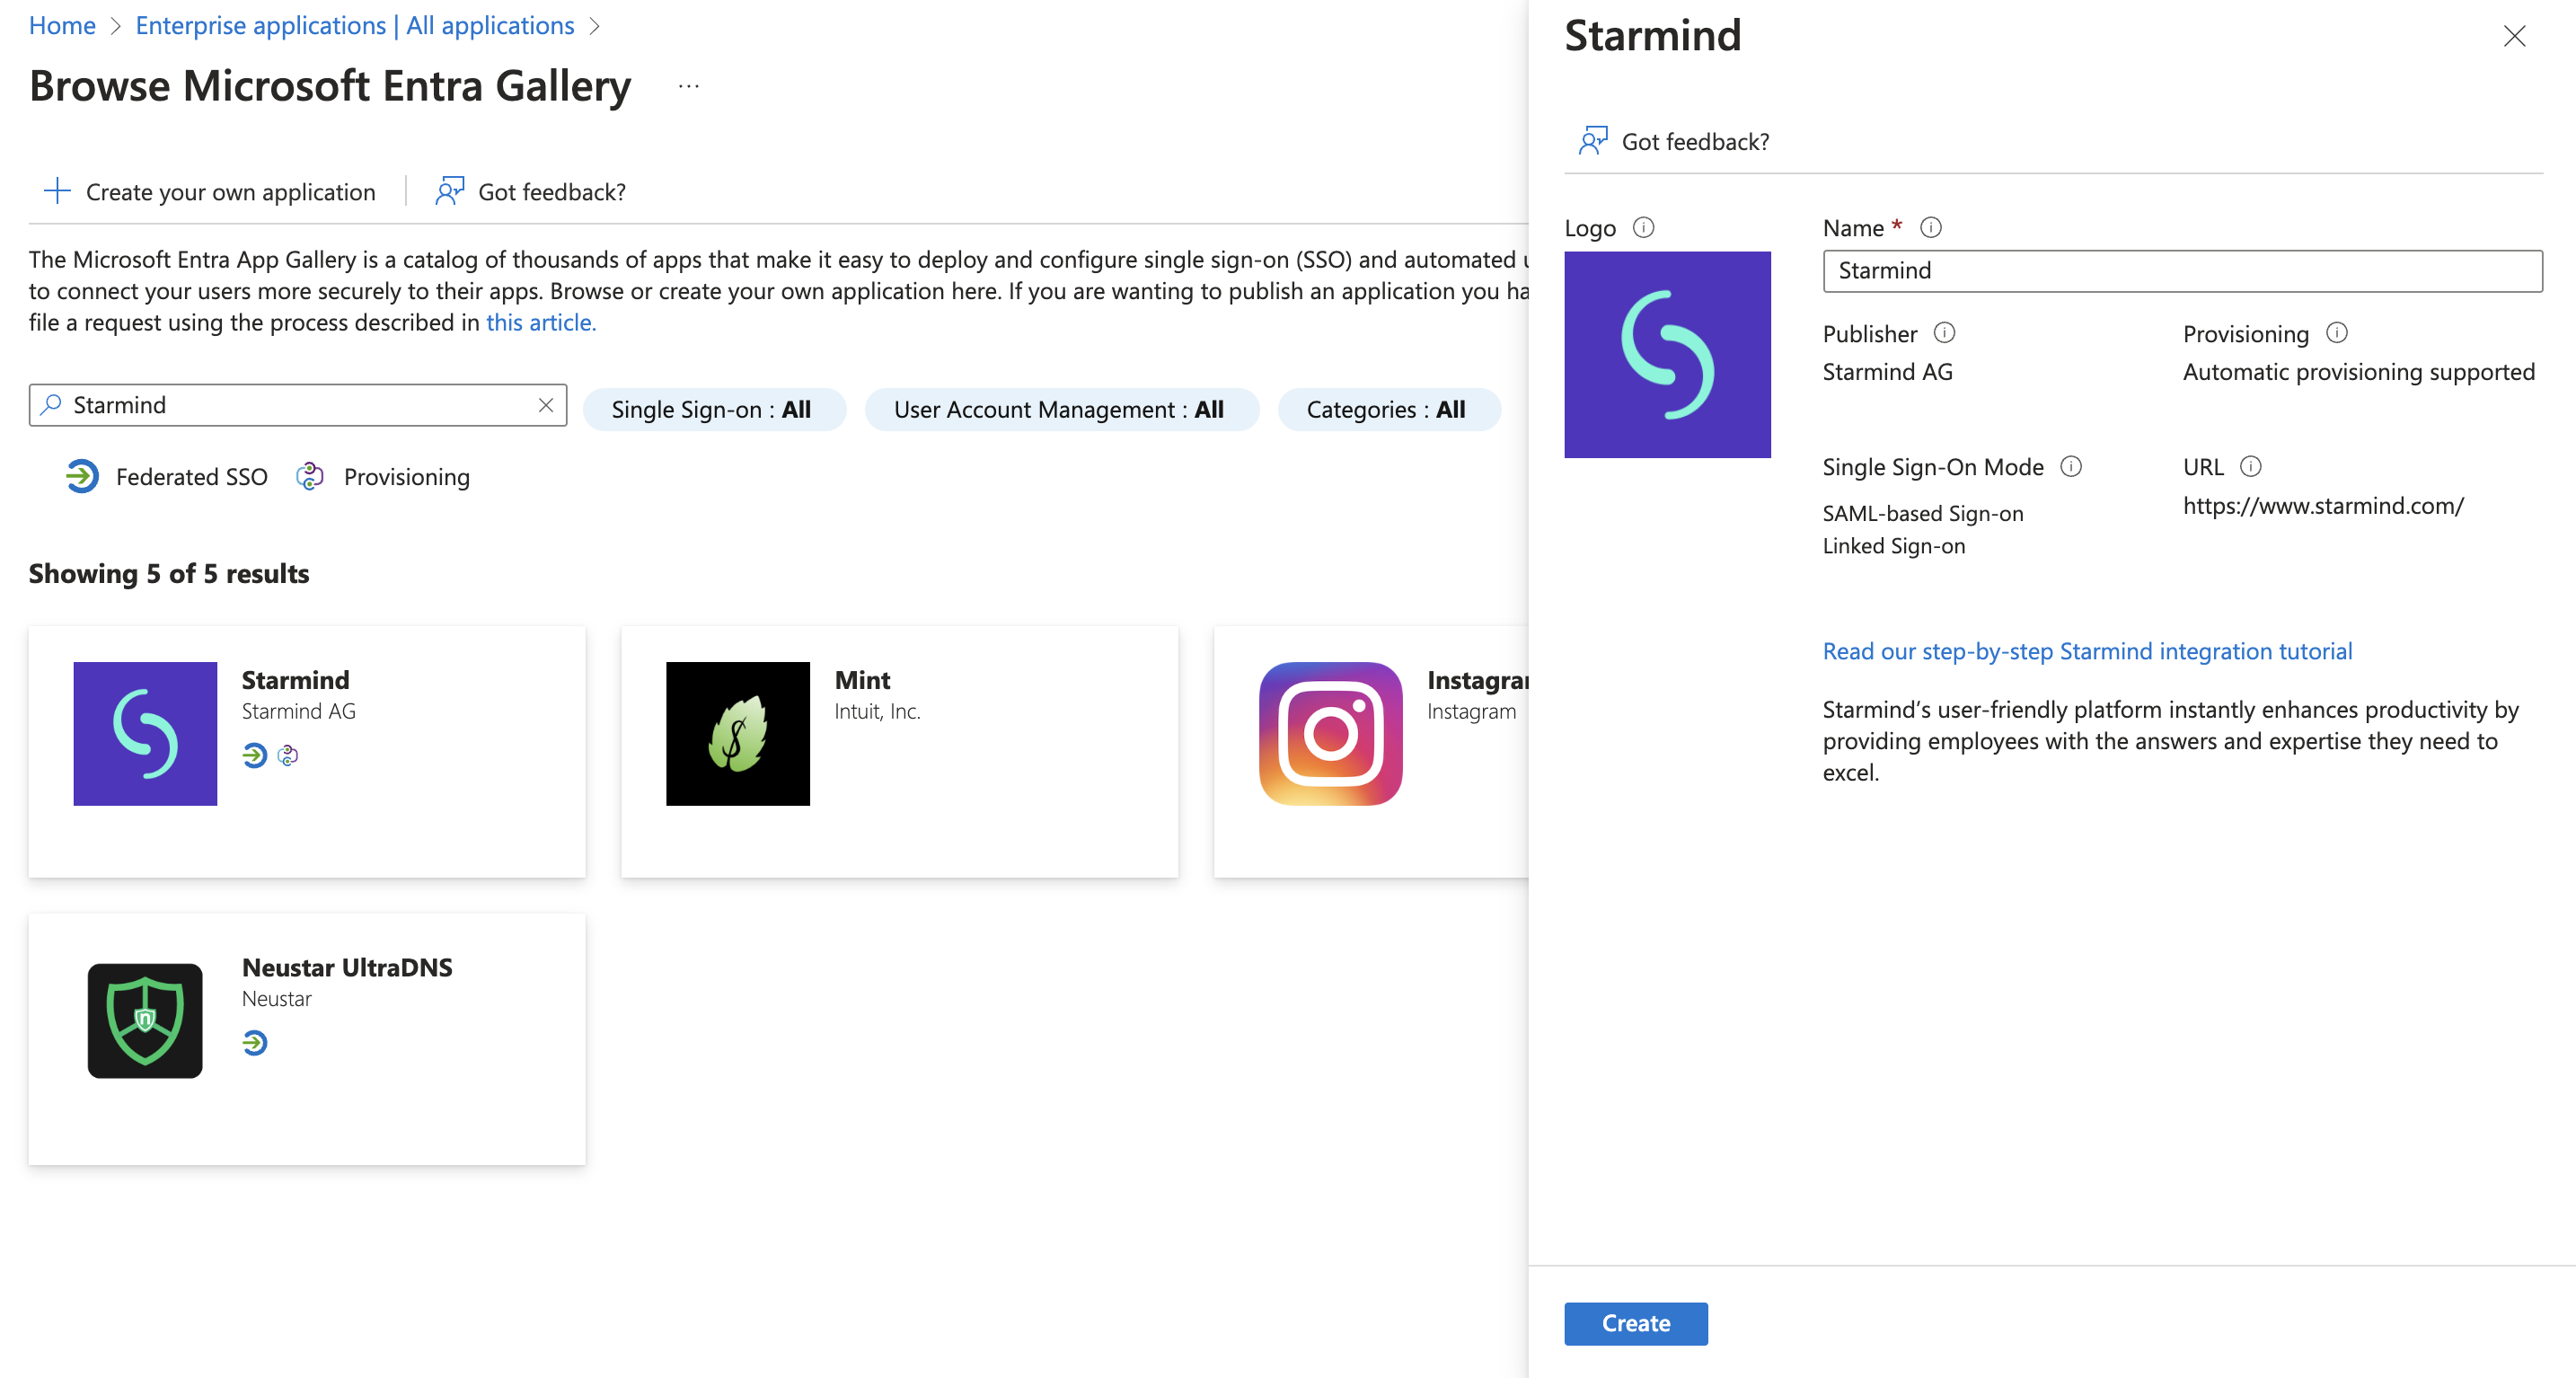
- Click Create.
- Select Provisioning.
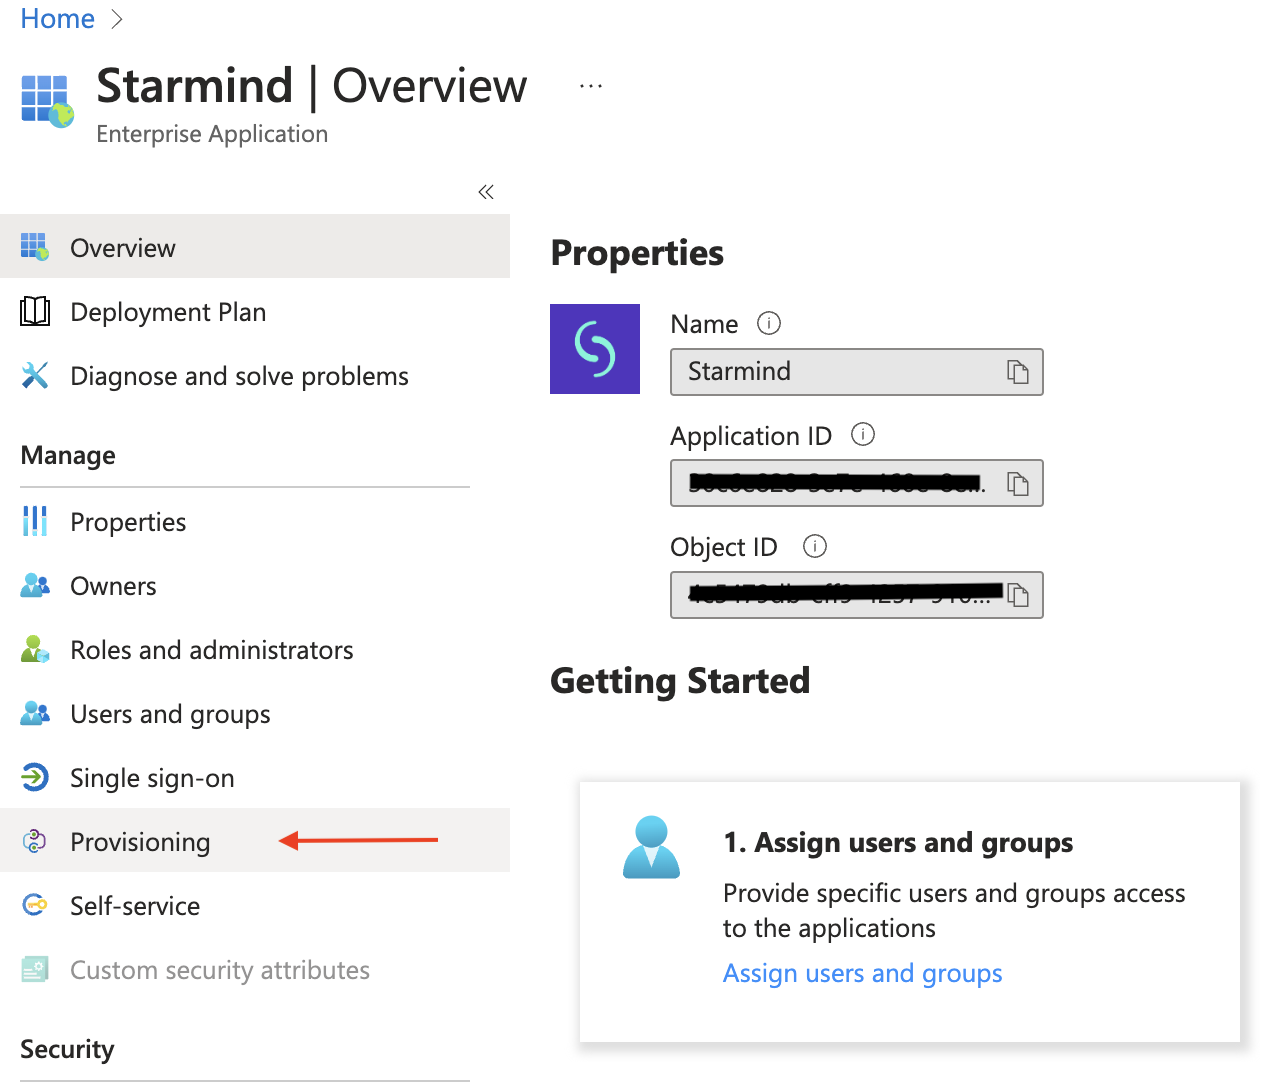
- Select Get started.
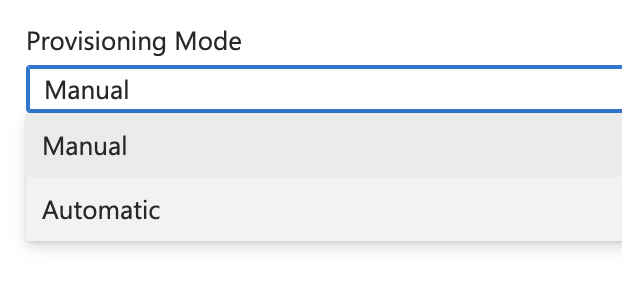
- Select Provisioning Mode -> Automatic.
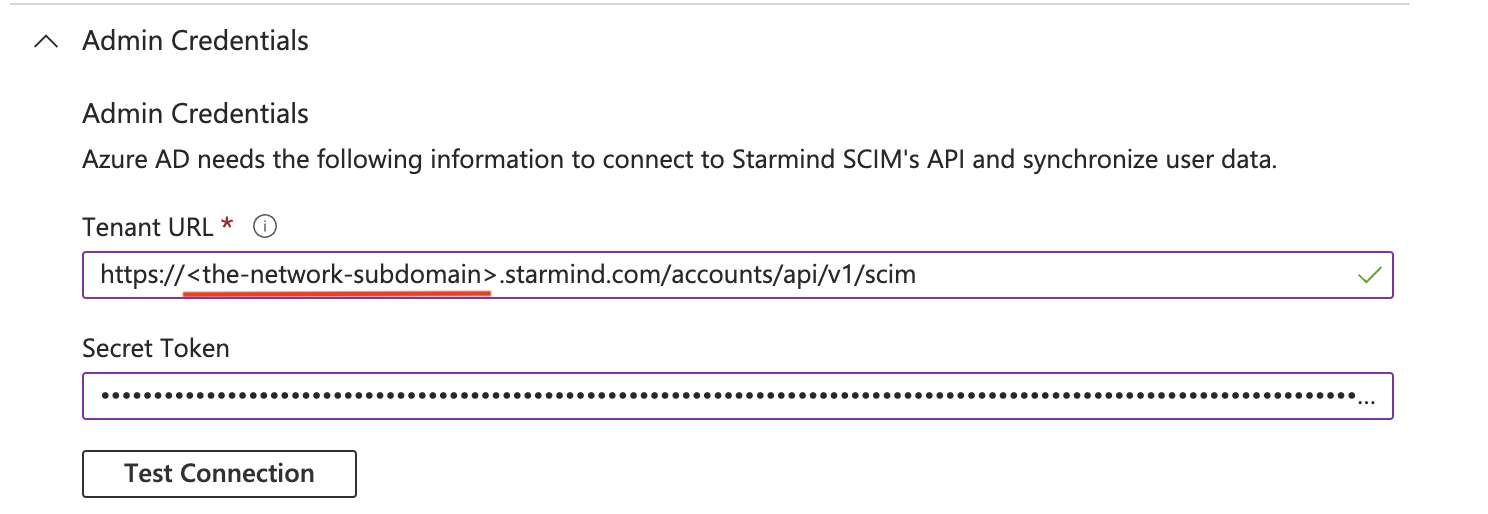
- Under the Admin Credentials section, input the SCIM Base URL for your network in Tenant URL and the API key provided by Starmind in secret token. Click Test Connection to ensure that Entra ID can connect to Starmind. If the connection fails, ensure that your provided credentials are correct or get in touch with your Solution Architect.
- In the Settings -> Notification Email field, enter the email address of a person or group who should receive the provisioning error notifications and check the Send an email notification when a failure occurs box.

- Click Save.
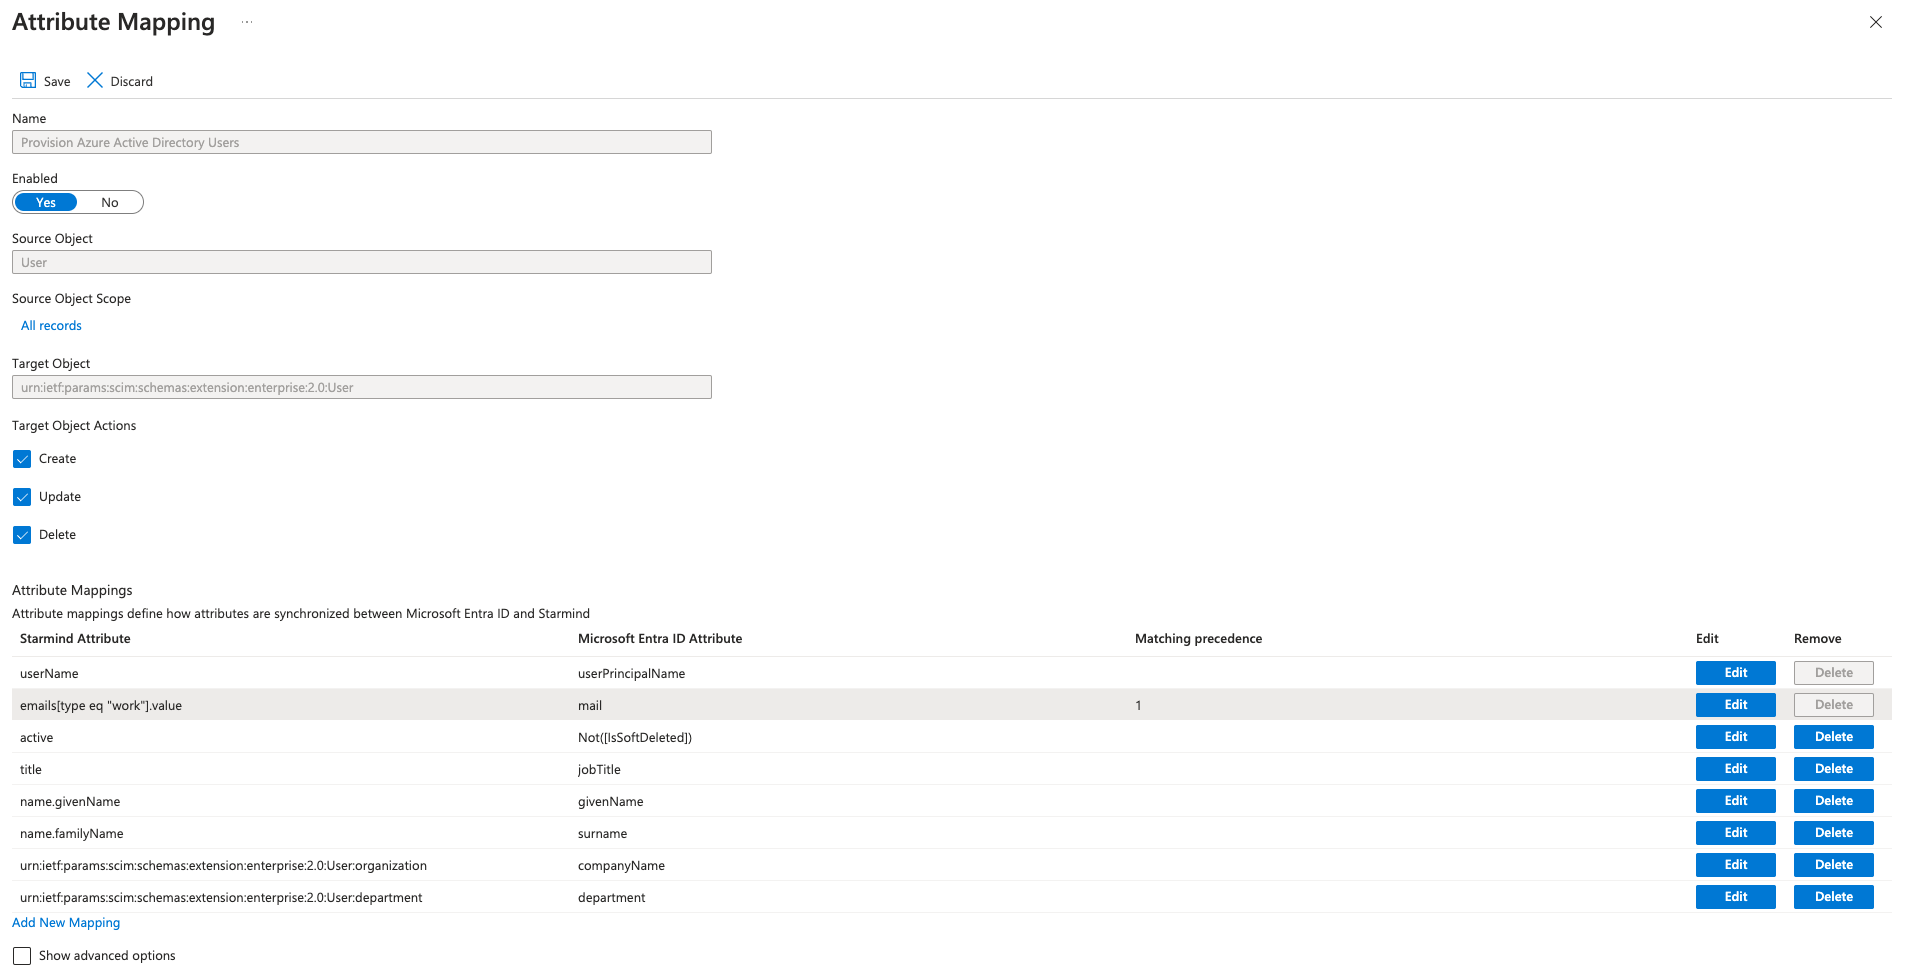
- Under the Mappings section, select Provision Azure Active Directory Users.

- The attribute mapping can now be configured. The following sub-steps describe the attribute mapping:
- Set Enabled to Yes.
- Disable/enable target object actions (actions on users.)
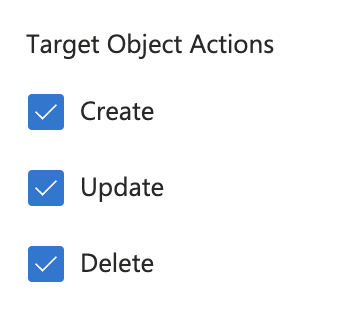
-
In the Attribute Mapping table, search for the userPrincipalName attribute in the left column and click on it. A form will show the details of this attribute. SelectMatch objects using this attribute -> No and click OK.
-
In the Attribute Mapping table, search for the mail attribute in the left column and click on it. Select Match objects using this attribute -> Yes, enter Matching precedence -> 1 and click OK.
-
Configure the remaining Attribute Mapping as shown in the picture below. This image demonstrates the correct attribute mapping for Starmind.
- Save all changes.
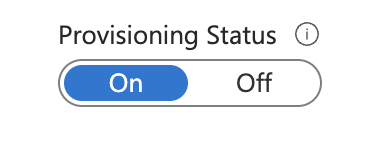
- To enable the Entra ID provisioning service for Starmind, change the Provisioning Status to On in the Settings section.
- Define the users that you would like to provision to Starmind by choosing the desired values in Scope in the Settings section.

- When you are ready to provision, click Save.

This operation starts the initial synchronization of all users defined in Scope in the Settings section. The initial sync takes longer to perform than subsequent syncs, which occur approximately every 40 minutes as long as the Entra ID provisioning service is running. You can use the Synchronization Details section to monitor progress and follow links to the provisioning activity report, which describes all actions performed by the Entra ID provisioning service on Starmind.
Updated about 1 month ago